Week 13: Final
For the final, we were tasked with preparing a presentation of a piece of computational media. Since this week we were playtesting in PComp, I decided to focus my presentation on a concept that I developed for said project but we ultimately scrapped after playtesting.
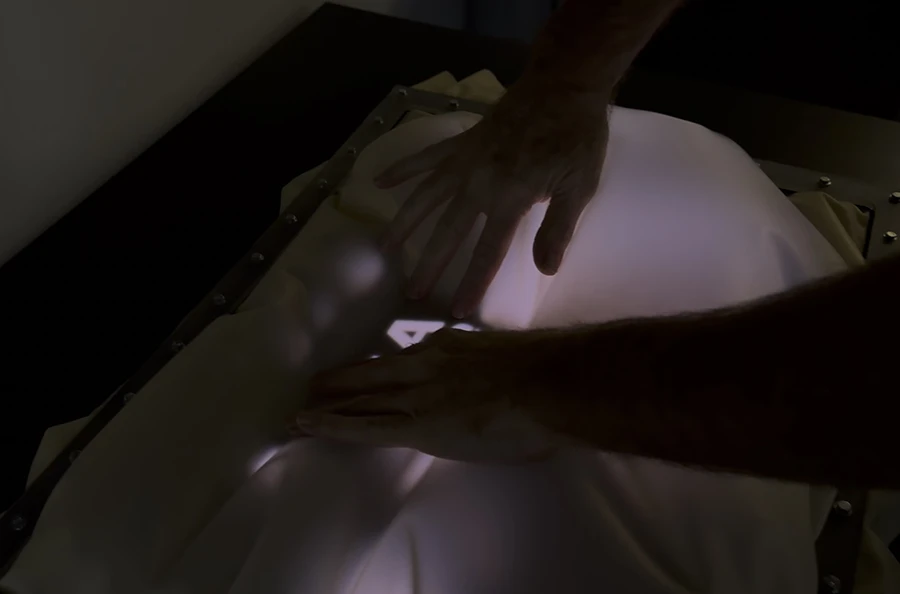
Together with Niko Kozak, we have been working on a physical inflatable interface that hinders the vision of those who use it:
After we arrived at this interesting phenomenon, we started working on the content we could show in the screen to highlight that and guide the interaction.
For our next prototype, we decided to make a sketch that would zoom you in, all the way from outer space into the 370 Jay street and then into the ITP floor. While Niko finished fabricating a new air-tight seal for our interface, I focused on programming this sketch.
At first I thought it would be best to load a video into p5 and, as a placeholder for our device's pressure sensor, use mouseX as a scrubber. Remembering the complexities I faced when working with video in p5 for the pixels exercise, I decided to instead work with Processing 4.
Looking to make it smoother I tried changing the resolution of the video and the fps to no avail. So I then decided to turn the video into an image sequence and use only a selection of still frames. I chose 39 for this.
Trying to hide the "seams" visible as jumps from the previous image to the next, I decided to work out some sort of interpolation. This would be a zooming interpolation. As I move my mouse, the active image zooms in from 1 to the scale that makes it the most similar to the next image, effectively chaining zoom in effects that make it feel as a single experience:
At this point I was satisfied with the visuals. The final part was adding a webcam that is shown once the zoom surpasses the roof of the 370 Jay floor.
Show/hide Processing code below
import processing.video.*;

Capture cam;

PImage[] images;
float[] scales = {
    1.7, //0
    1.45, //1
    1.45, //2
    1.35, //3
    1.4, //4
    1.35, //5
    1.4, //6
    1.3, //7
    1.4, //8
    1.3, //9
    1.3, //10
    1.15, //11
    1.31, //12
    1.15, //13
    1.15, //14
    1.2, //15
    1.25, //16
    1.4, //17
    1.3, //18
    1.15, //19
    1.2, //20
    1.25, //21
    1.12, //22
    1.15, //23
    1.15, //24
    1.17, //25
    1.2, //26
    1.27, //27
    1.35, //28
    1.53, //29
    1.35, //30
    1.65, //31
    1.5, //32
    1.7, //33
    1.7, //34
    1.9, //35
    1.9, //36
    1.7, //37
    1.7 //38
};

void setup() {
    // Get the folder path
    String seqFolder = sketchPath("data/seq_short");

    // Load all images from the folder
    images = loadSequence(seqFolder, "seq", "png");

    // Display how many images were loaded
    println(images.length + " images loaded.");
    //size(1440, 810);
    size(960, 540);
    imageMode(CENTER);

    //Start capture
    //String[] cameras = Capture.list();

    //if (cameras.length == 0) {
    //  println("There are no cameras available for capture.");
    //  exit();
    //} else {
    //  println("Available cameras:");
    //  for (int i = 0; i < cameras.length; i++) {
    //    println(cameras[i]);
    //  }
    //}

    cam = new Capture(this, "pipeline:autovideosrc");
    cam.start();
}

void draw() {
    background(0);

    //Read the camera stream
    if (cam.available() == true) {
    cam.read();
    }

    //Center everything to make scaling easy
    translate(width/2, height/2);
    //scale(1.3);

    //Calculate how much to zoom the camera feed
    float zoom = constrain(map(mouseX, 3*width/4 - 50, width, 1.5, 4), 1.5, 4);

    //Clear the tint
    tint(255, 255);

    //Draw the camera
    image(cam, 0, 0, cam.width*zoom, cam.height*zoom);

    //If the mouseX is less than 3/4 of the width, draw images of the map
    if (mouseX < 3*width/4) {
    //Map the mouseX to an image in the array of map images.
    float scrubberPoint = map(mouseX, 0, 3*width/4, 0, images.length-1);

    //Turn that into an integer so it can be used as a key in the array
    int scrubber = floor(scrubberPoint);

    //In a value from 0 to 1, calculate how we are to swapping for the next image
    float pointInBetween = scrubberPoint - scrubber;

    //Scale the current image based on that point in between and the
    //calculate equivalent scale compared to the next image
    //as a way of interpolating
    scale(lerp(1, scales[scrubber], pointInBetween));

    //If we are nearing the breakpoint, start slowly fading out the image
    //with a tint
    if ( mouseX > (3*width/4 - 50) && mouseX < 3*width/4) {
        float opz = constrain(map(mouseX, 3*width/4 - 50, 3*width/4, 255, 0), 0, 255) ;
        tint(255, opz);
    } else {
        tint(255, 255);
    }

    //Draw the current image
    image(images[scrubber], 0, 0);
    }
}


PImage[] loadSequence(String folder, String baseName, String extension) {
    ArrayList<PImage> imageList = new ArrayList<PImage>();

    int index = 0; // Start at the first sequence number
    while (true) {
    String fileName = String.format("%s%03d.%s", baseName, index, extension); // e.g., seq000.png
    File imageFile = new File(folder, fileName);
    if (imageFile.exists()) {
        PImage img = loadImage(imageFile.getAbsolutePath());
        if (img != null) {
        imageList.add(img);
        }
    } else {
        break; // Stop if the file doesn't exist
    }
    index++;
    }

    // Convert the ArrayList to an array and return it
    return imageList.toArray(new PImage[0]);
}
Week 10 & 11: Sound
Audrey and I paired up for this second module about making a sound experience using p5.sound.
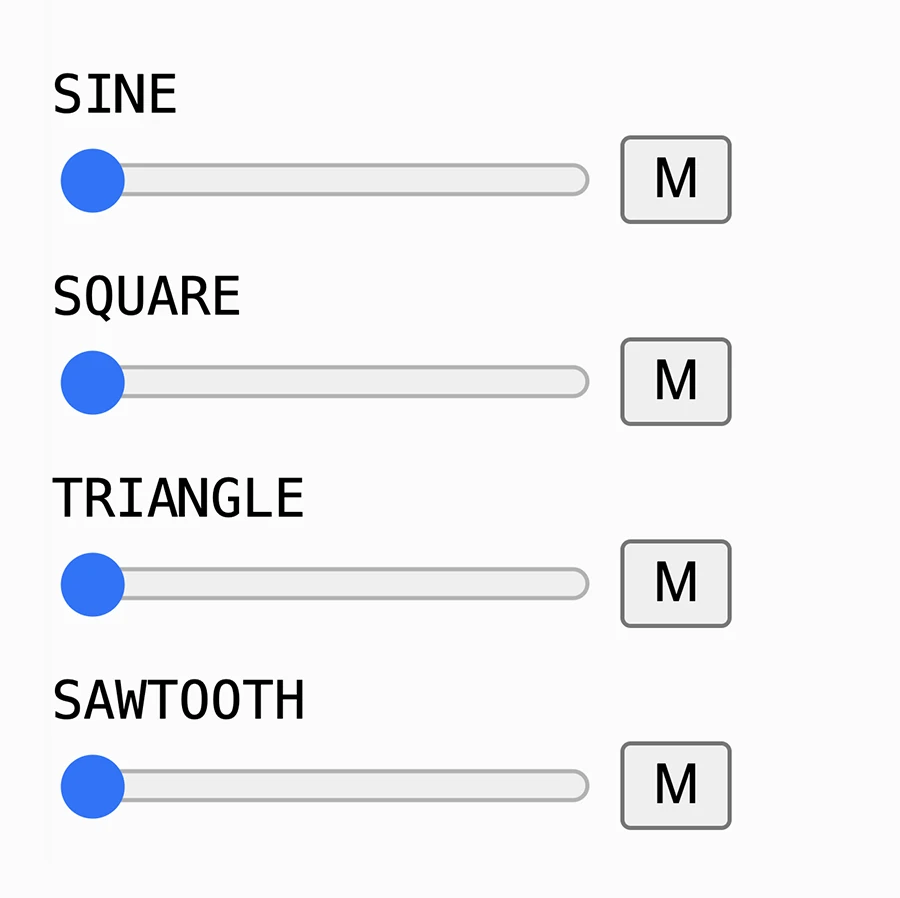

To further explore this concept and also test out the p5 sound envelopes, we iterated over the class sketch on harmony to make it generate beating frequencies on each keyUp.
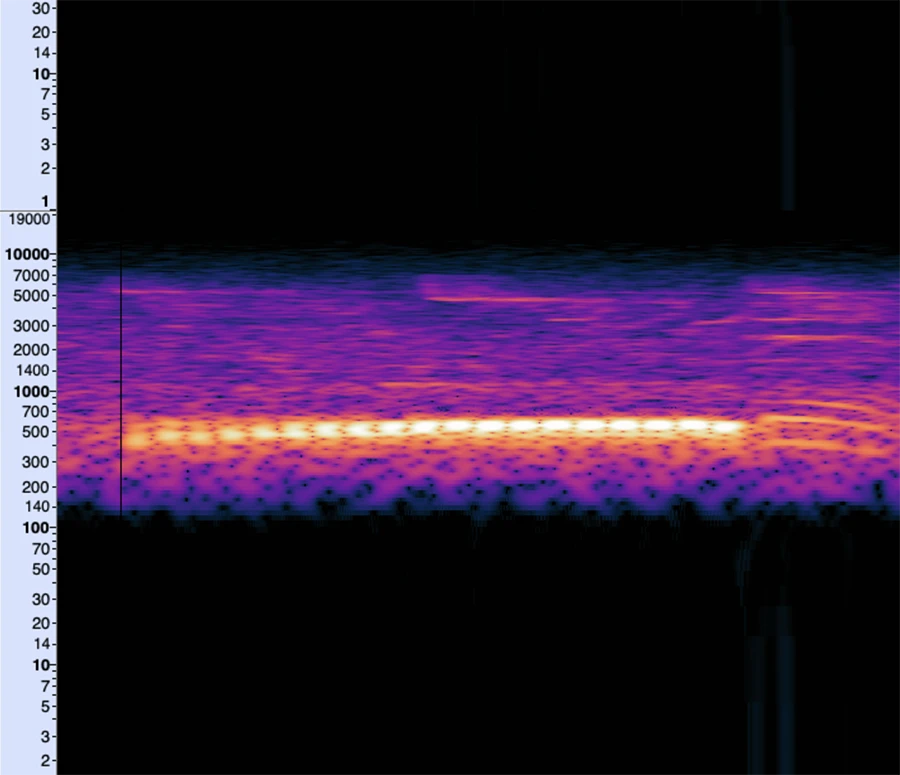
At this moment, we realized that some of these beating sounds were similar to birdsong:
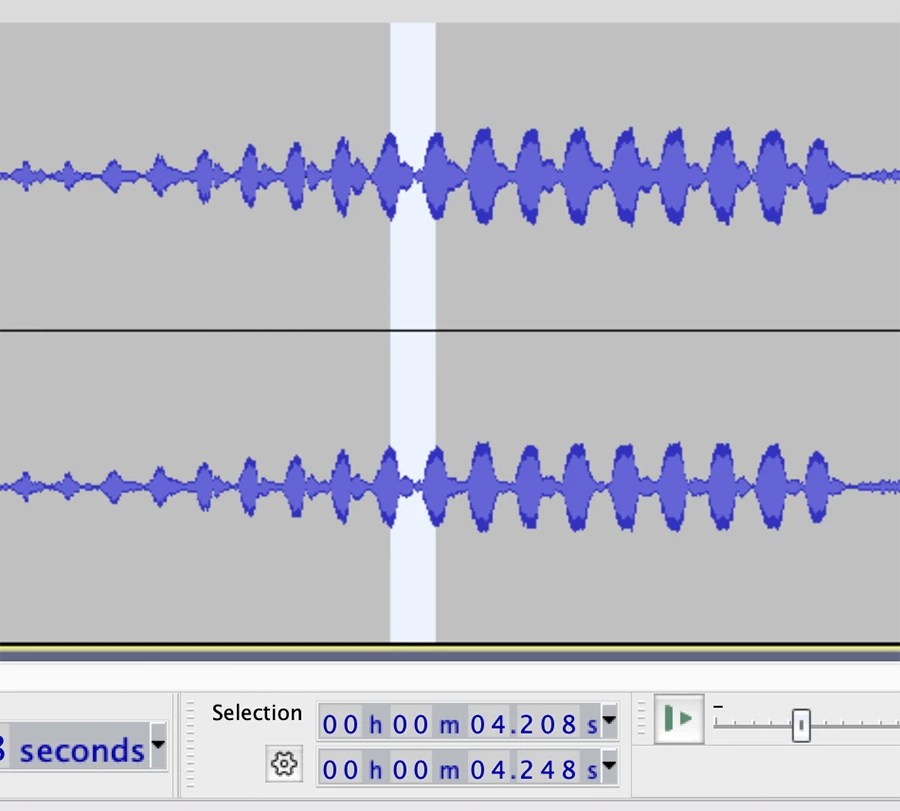
To better understand the frequencies and the beats per second of the dove call, we downloaded the audio and put it in audacity:
After that analysis, we replicated the call using oscillators and envelopes:
Pretty satisfied with this result, we now looked to make a 60 second composition of cooing, with slightly randomized parameters to give the feeling of multiple different birds.
Week 08 & 09: Pixels
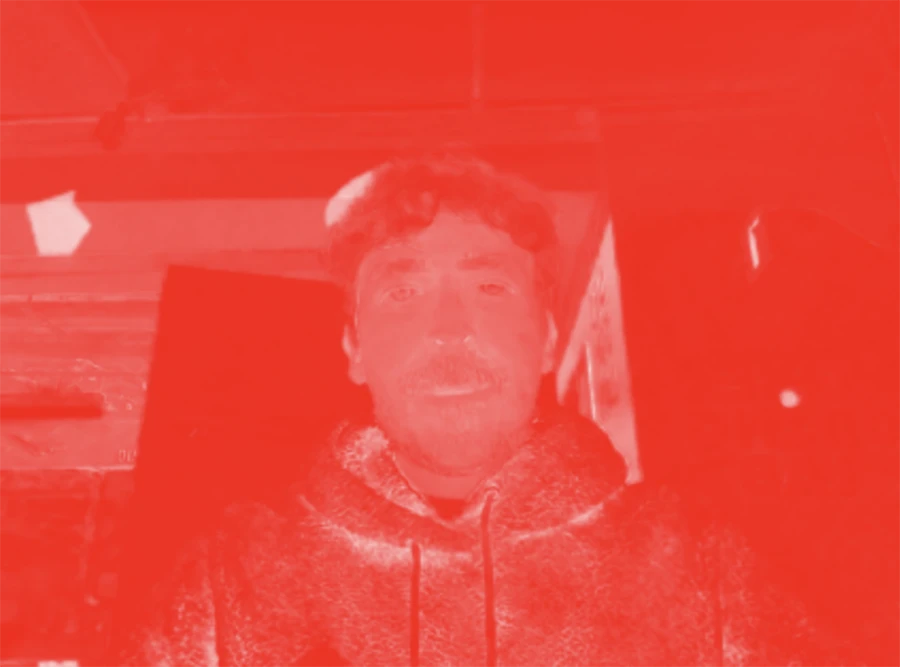
This first module was all about manipulating pixels & color. For our pairs assignment we first received an initial prompt to manipulate the pixels in an image/video to create an alternative of the reality in the source image.
Chris and I met and discussed some ideas to explore. We were interested in finding patterns in images, from axis of symmetry to patterns in the way the pixel colors were distributed. After this initial discussion, each of us would do some exploring before meeting again

Very inspired by this work of Chana Horwitz, I wanted to see what it would look like if I drew lines between pixel in their hue order, going from the pixel with the 0 hue to the pixel with the 360 hue.
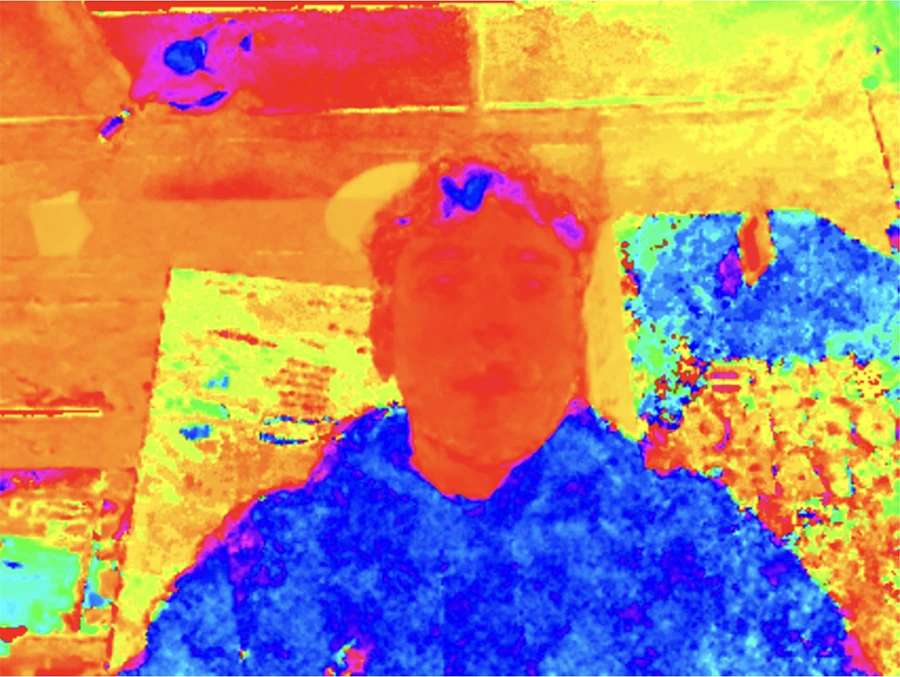
After seeing the results of these mirrors, I decided to make the "lines between ordered pixels" sketch with brightness first, since it the easiest one to recognize for me.
At this point, we received the full prompt for the assignment, which seems we had somewhat misunderstood. We were to create a 1 minute repeatable experience in which the pixels of an image/video were manipulated to reveal/obscure some aspect of it.
Together with Chris we decided to keep exploring and see where the code could take us. After all, we can't really see what will be revealed until we make it.
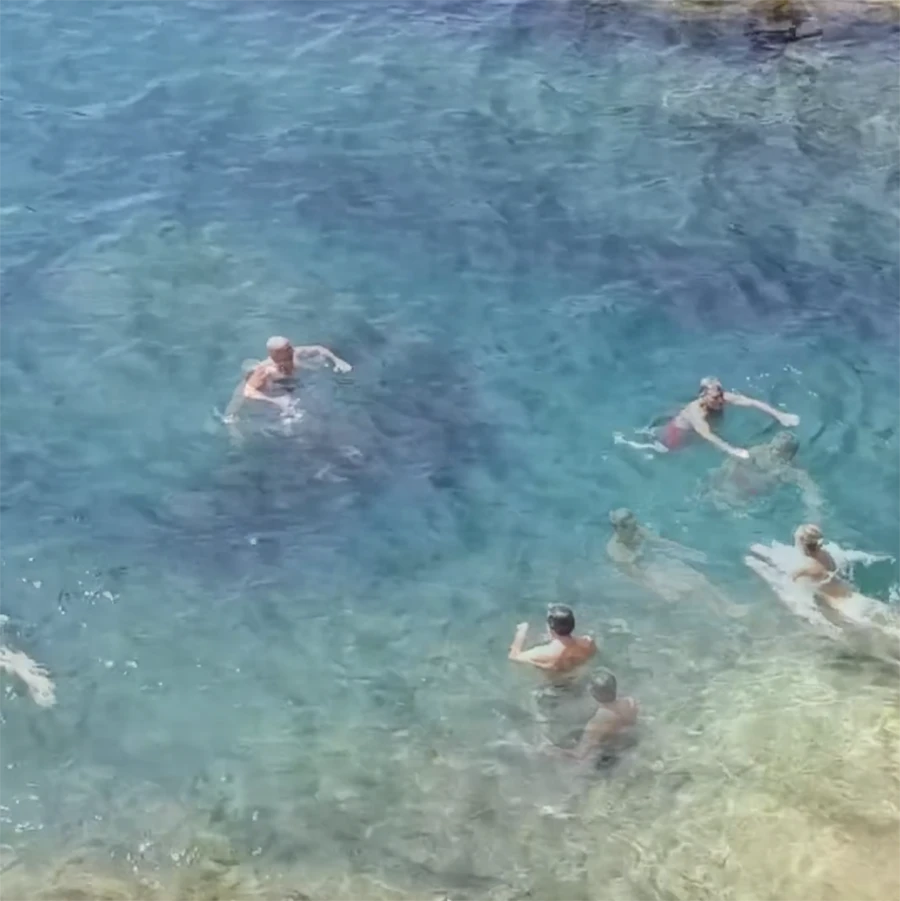
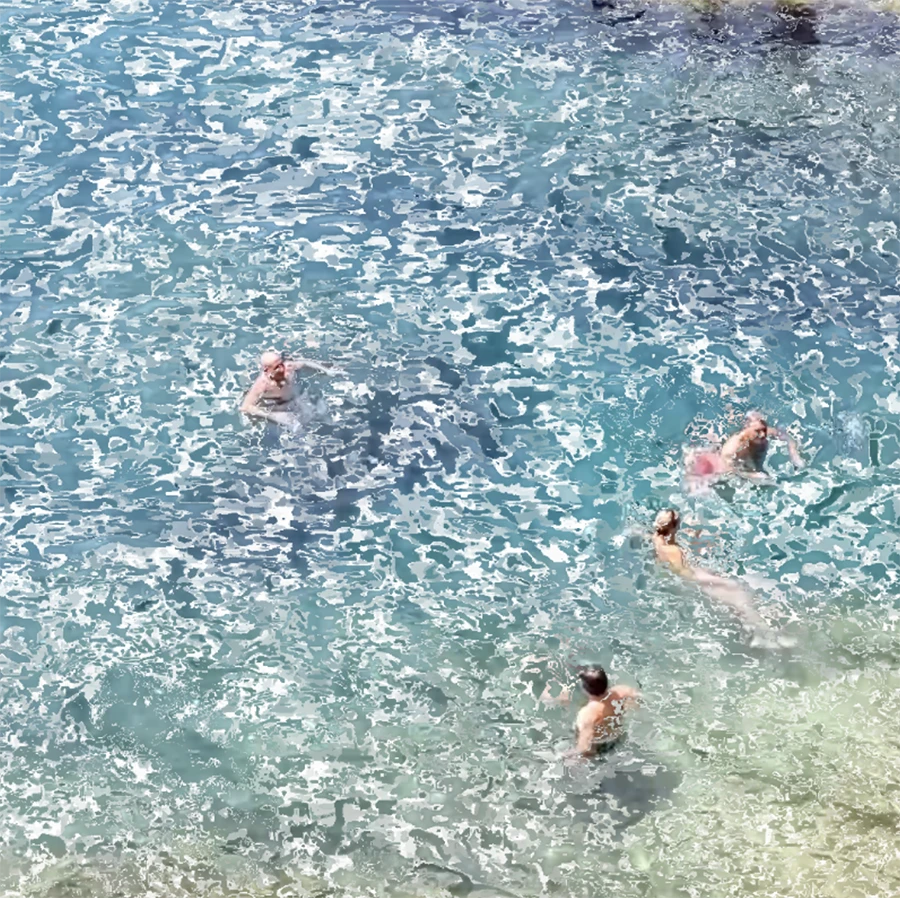
The source asset was changed from the webcam to a video, in order to have a more repeatable experience. This was a video I recorded in the Scogliera di Pontetto (Pontetto Cliffside) when I visited my brother. The way the water moves and the people float on top of its silky texture is very entrancing.
In looking to make the video loop back and forth, something interesting arose:
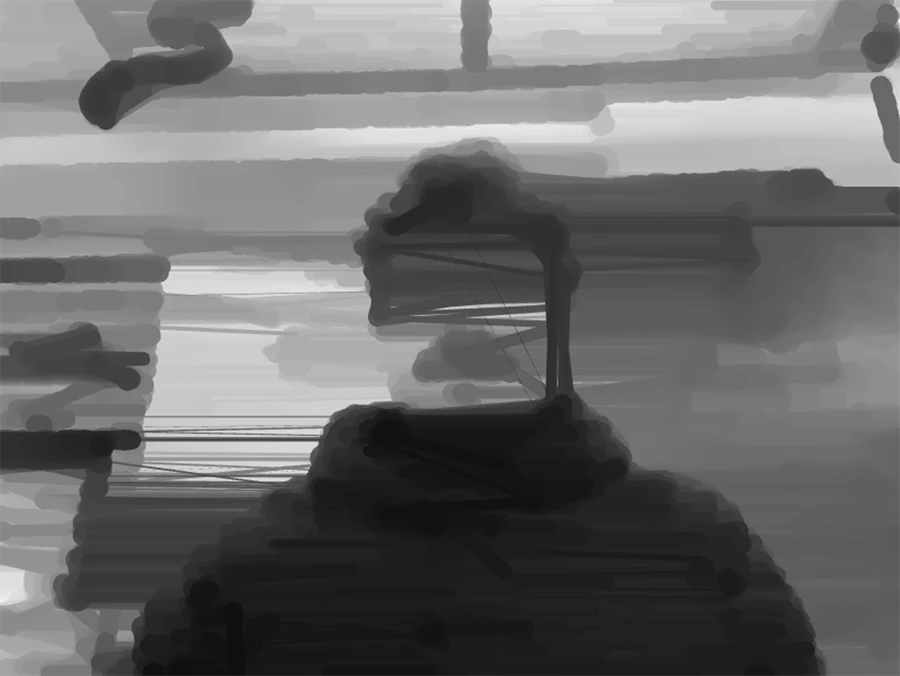
The next exploration then consisted on revealing motion:
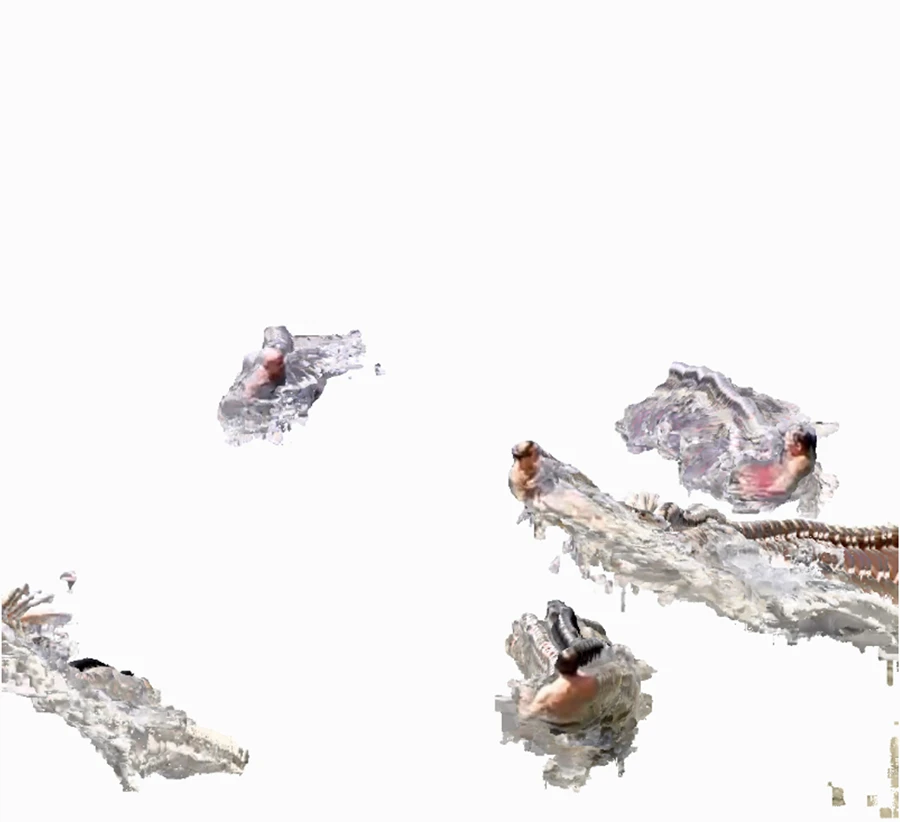
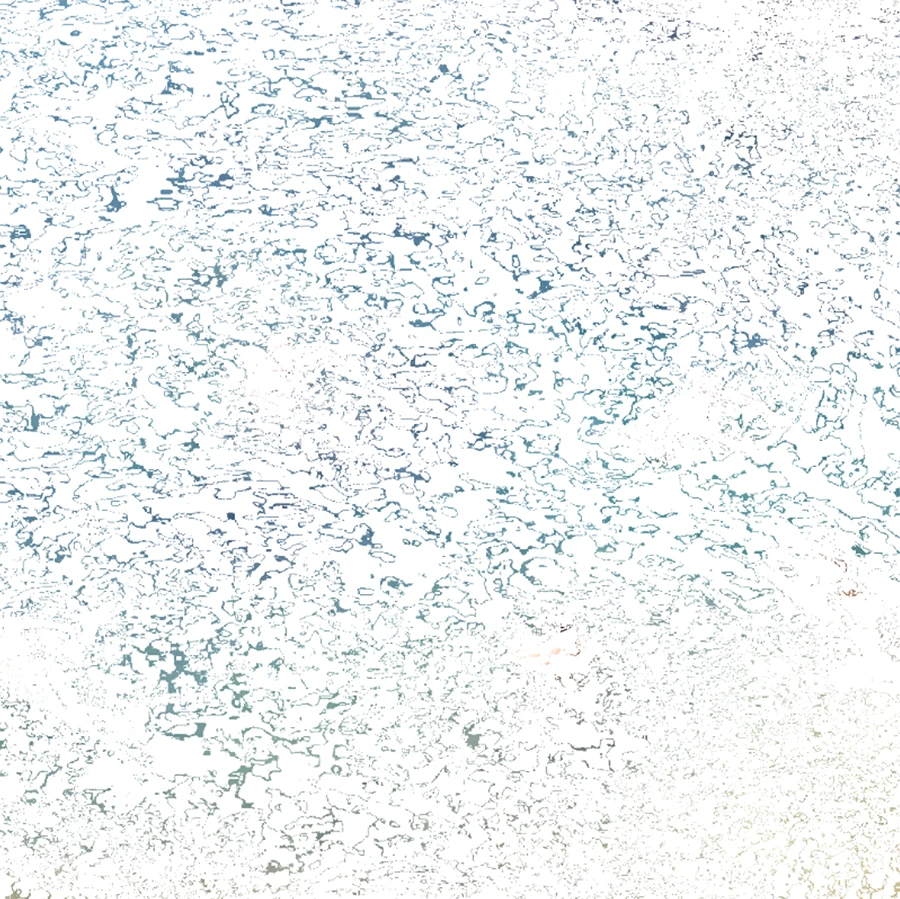

Chris and I discussed the ideas we had been exploring. We wondered what it would be like to let the ripples draw their own image, so we did some changes to make that happen:
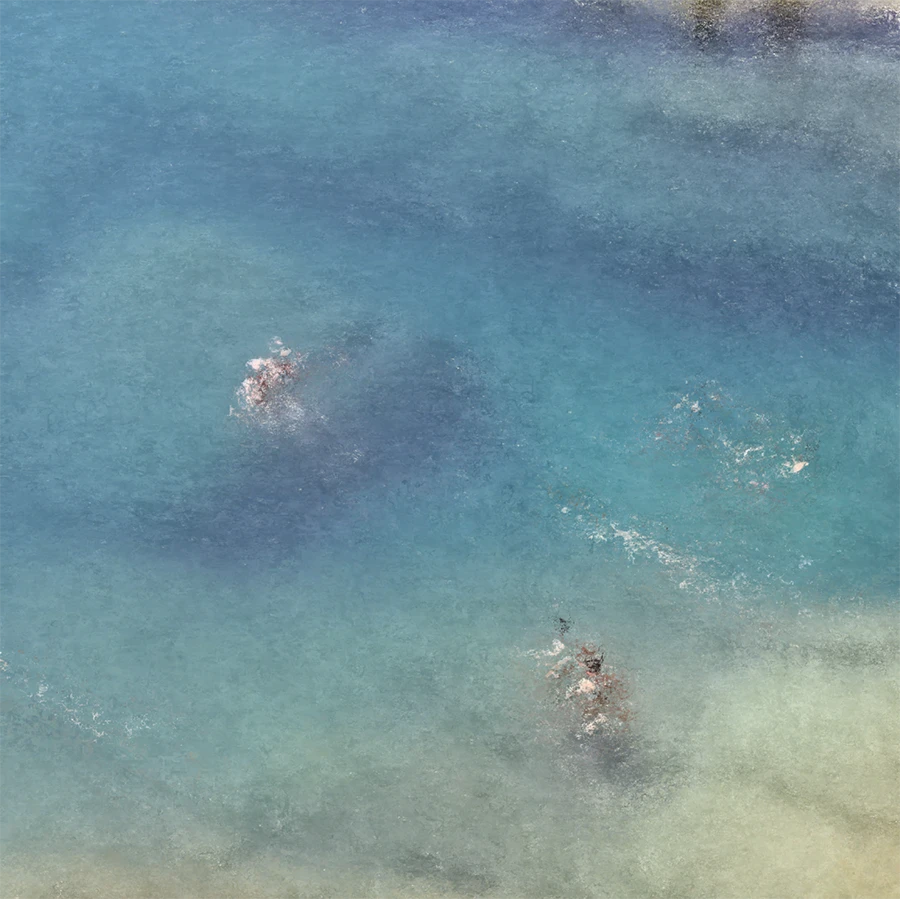
At this point we were very happy with what we had found. We faced some problems when letting the video run on its own, because sometimes the first frames would be gray. Also, because p5 was not running at full speed, it wasn't actually catching every frame of the video. To fix it in the last iteration we controlled when to advance the video frames.
Interestingly, when we tried to advance pixel by pixel, the result was somewhat different, and people would still be shown. So we decided to advance the pixels in a randomly changing interval (kind of like what happened when letting the video run on its own) which achieved the effect we most connected with.